

A kitchen island is a must-have in many modern dream kitchens. It becomes the place for food prep, casual meals, homework, and family gatherings.
For an island with seating to work in real life, the design must get a few things right: the overall size, clearances, overhang, seating layout, and even how the island will fit into the kitchen’s workflow.
This guide combines practical measurements with seating guidelines, layout options, workflow tips, and design details. It helps make a kitchen island with seating comfortable and functional.
Before thinking about stools, the island itself has to fit the room.
How Big Should Your Kitchen Island Be?
A kitchen island should be at least 2′ x 3′ (24″ x 36″) to be functional, generally no more than about 5′ (60″) wide for easy cleaning, and sized to maintain 36″ to 48″ (3′ to 4′) of walkway clearance around it, with most islands topping out at roughly 11′ x 5′ (132″ x 60″) due to countertop slab sizes and practical usability. A kitchen island should be sized to your room and workflow, with enough clearance for comfortable movement and access to appliances, while remaining practical to use, clean, and proportionate to the space.
Minimum kitchen island size
We consider a 2′ x 3′ (24″ x 36″) kitchen island to be the minimum size. If that size island is too large for the space, look at rolling or movable islands, butcher block tables, etc. These can be repositioned as necessary for the workflow.
Maximum kitchen island size
We consider 5′ x 11′ (60″ x 132″) to be the maximum island size. The top of the island should be small enough that you can reach the middle of the island to clean it, not over 5′ (60″), and of a dimension that a single slab can serve as its countertop.
This is important if you wish to avoid seams, especially if the material has a pronounced grain. Using a Jumbo slab, you could potentially have an 11′ by 6′ (132″ x 72″) island. In reality, only a few products would span that size, and you might have to climb onto the countertop to clean it, which is why I recommend no more than 5′ (60″) in width. Keep in mind that walking around an island this size would be a trek.
Calculating if and how big an island can fit in your kitchen based on walkways
Rule of thumb: the size of your kitchen island is dictated by the amount of walkway space that will be left behind once you put in the island. This is because you don’t want people bumping into each other or cabinet or fridge doors bumping into your island.
Here’s what you need to account for in calculating how big an island can fit in your kitchen. Once you do the math, you’ll know either that your kitchen is too small to fit an island or that your kitchen is so large that you want to size up the island.
If your kitchen is huge and has a high ceiling, you don’t want to put a tiny 2′ island in it. It will look strange. You also don’t want to get your 10,000 steps in walking around the island or have trouble reaching the center to clean it, so even if you have a very large kitchen, the island can only be so big.
- Walkways – In a 2-person kitchen, you want at least a 42″ (3’6″) walkway. But 48″ (4′) would be better. If you only have a one-person kitchen, you can get away with 36.”
- Plumbing – If you want plumbing for a sink or dishwasher on your island, add 4.5″.
- Seating – Depending on the height of your island, you need to add 12-18″ inches of overhang to accommodate seating. A taller island means taller seats, which means a person’s lap is smaller, so you will need less overhang. You will also need to increase the walkway space by 12″ to 18″.
Example calculation for the smallest kitchen island possible
Here’s an example of what I would do if we’re trying to squeeze a no-plumbing, no-seating island into a one-person, U-shaped kitchen with cabinets on 3 sides, with the 4th side open to another room. The short answer is that if the kitchen is less than 12′ (144″) wide and the cabinets are 24″ deep on both sides, a 2′ wide island will not work. This doesn’t mean you need to abandon the idea; it just means that this is a design challenge and it will involve some compromises.
The long answer:
Starting with the length
- Account for cabinet depths -48″ (4′)
Suppose this kitchen has cabinets on both sides of the length. Cabinets are generally 24″ (2′) deep. We add those together, which puts us at 48″ (4′).
- Account for walkways – 72″ (6′)
We need a walkway on either side of the island, and they will each be 36″ (3′) at the absolute minimum, so we add two of those and get 72″ (6′).
- Account for the island – 24″ (2′)
Now we need to add in the island. The minimum we’d want for one side of an island that doesn’t include seating or plumbing is 24″ (2′) wide.
- Add it all up – 144″ (12′)
Add it all up, and we can see that, at the absolute minimum, 12′ (144″) of width is necessary to put in an island without seating or plumbing when you have cabinets on either side.
Do the same thing for the width
- Account for cabinet depths -24″ (2′)
Let’s assume a U-shaped kitchen, which means there will only be cabinets on 1 side of the length and that we are OK with the island going all the way to the edge of the open part of the kitchen. That gives up 24″ (2′) of cabinet space on one side. NOTE: If your fridge is on the end wall across from the island, use your fridge’s depth instead of the 24″ cabinet depth.
- Account for the one walkway – 36″ (3′)
We need a walkway on only one side of the island, as the other side is open to the adjoining room, and it will be 36″ (3′) at the absolute minimum. Remember, that’s really only feasible in a one-person kitchen.
- Account for the island – 48″ (4′)
The minimum island size we want is 2′ x 4′ (24″ x 48″). We used the 2′ side as the width, so we’ll use the 4′ (48″) side as the length.
- Add it all up – 108″ (9′)
Add that all up, and we can see that we need at least 9′ (108″) of length in this kitchen.
Get your final numbers
In this U-shaped kitchen, using the absolute minimums suitable for a one-person kitchen and an island without plumbing or seating, a 9′ x 12′ (108″ x 144″) kitchen is necessary to fit a 2′ x 4′ (24″ x 48″) island. Note: the absolute minimums do not account for appliances that project into the room. You must take these projections into account!
How Much Space Do You Need Around a Kitchen Island?
Professional guidelines from the National Kitchen & Bath Association (NKBA) recommend that a work aisle be at least 42″ (3’6″) wide for one cook and 48″ (4′) for multiple cooks.
Clearances make or break an island!
For most islands, that translates into an ideal clearance of 42″ to 48″ (3’6″ to 4′) between the island and surrounding counters and cabinets. In tight spaces, the absolute minimum is always 36″ (3′) when there are no other options and no appliances in the way.
If the gap grows beyond 60″ (5′), the island starts to feel disconnected from the main work area and becomes less useful for prep.
There are exceptions. If you have an L-shaped kitchen with a 60″ (5′) gap and everything aligns with the outer edges of the cabinets, the island can still look good. But once the island starts sticking out beyond the edges, it can feel like it’s not part of the kitchen at all. That gets confusing.
And believe us, we’ve got stories. We’ve had clients refuse to believe us when we said the space was too tight. We declined the job; they tried doing it themselves…and they called us, unhappy, to fix what they’d done because the walkway was too crowded and uncomfortable.
You also need to think about your fridge.
Single door? Does it go out 36″ (3′) when it opens? If there’s a 36″ (3′) space in between the fridge and the island, then the fridge door will hit the island because the fridge sticks out a little bit.
Same thing with a dishwasher. Especially if you have it on the island, and the fridge is across from it. This could mean someone can’t get into the fridge when the dishwasher is open.
In a very large kitchen, what is the maximum size you would want before the island feels too big?
An island that would feel too big is probably about 9′ by 6′ (108″ x 72″) in most kitchens. The main thing that limits the island’s size? The size of the countertop material. Jumbo slabs typically measure 130″ x 65″ (10’10” x 5’5″), while Super Jumbo slabs typically measure 136″ x 80″ (11’4″ x 6’8″) and can be as large as 140″ x 80″ (11’8″ x 6’8″). Note that the slab size must be larger than the countertop it is intended for, so the edges can be fabricated. Functionally, don’t make the island larger than someone can reach the middle when cleaning, which is about 5′ (60″).
Imagine that you have beautiful quartzite. You don’t want a seam.
Below are some examples.
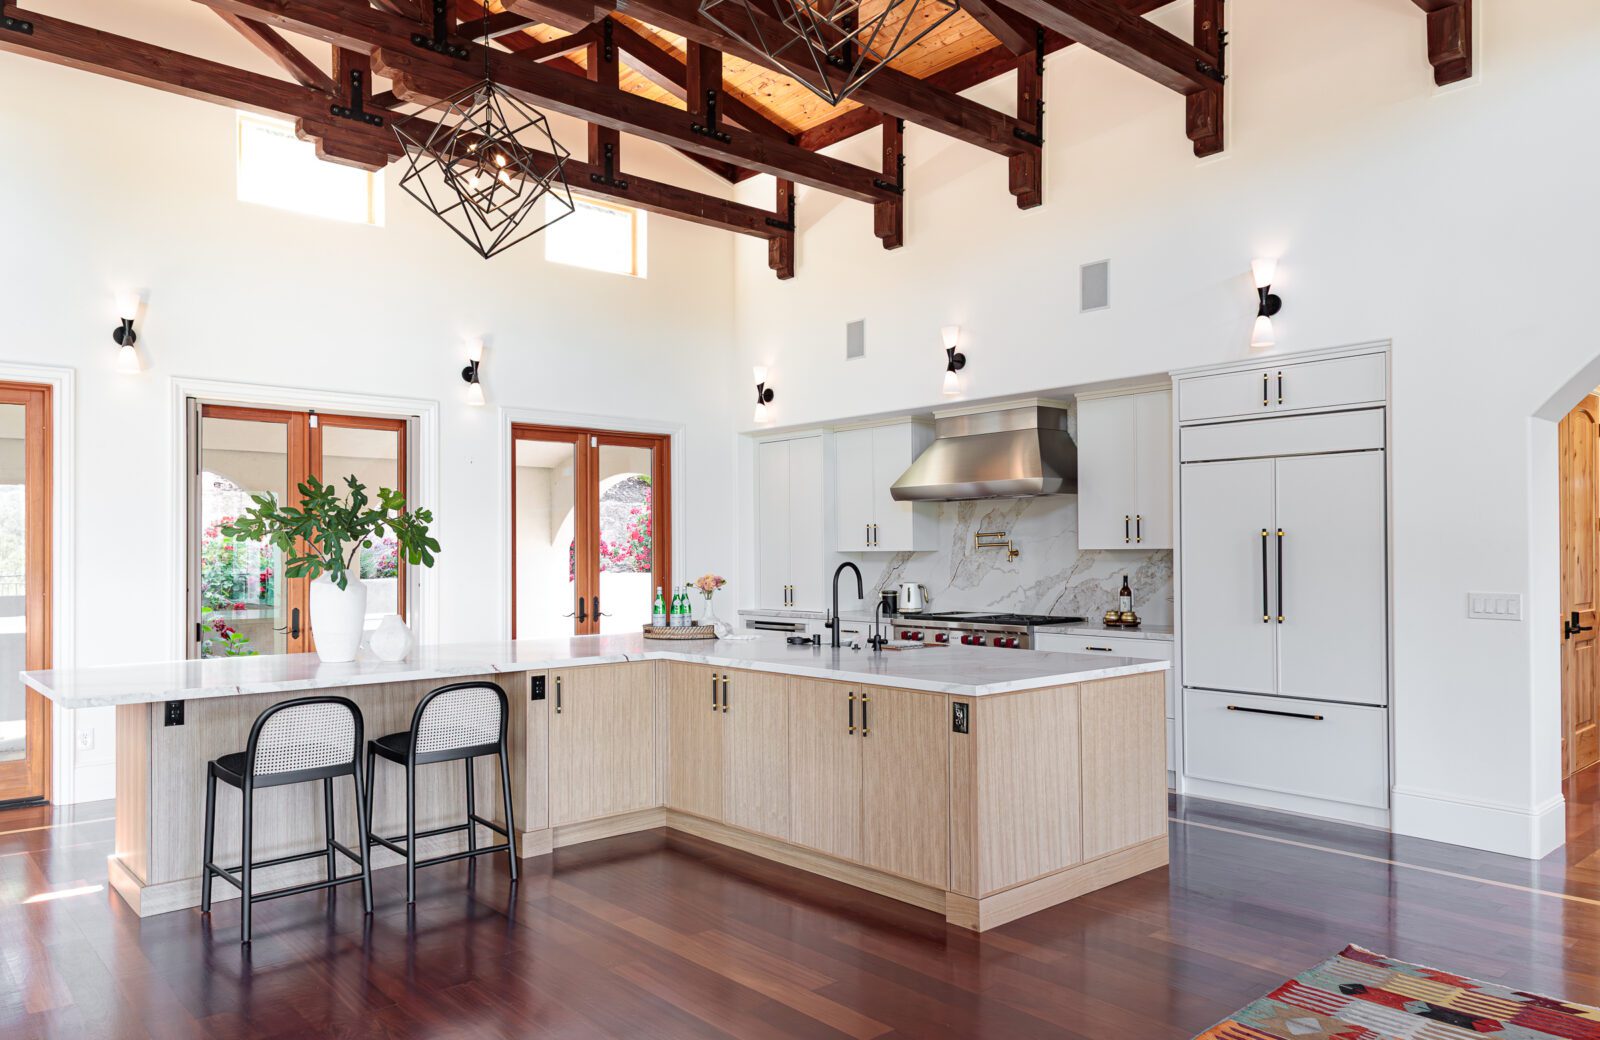

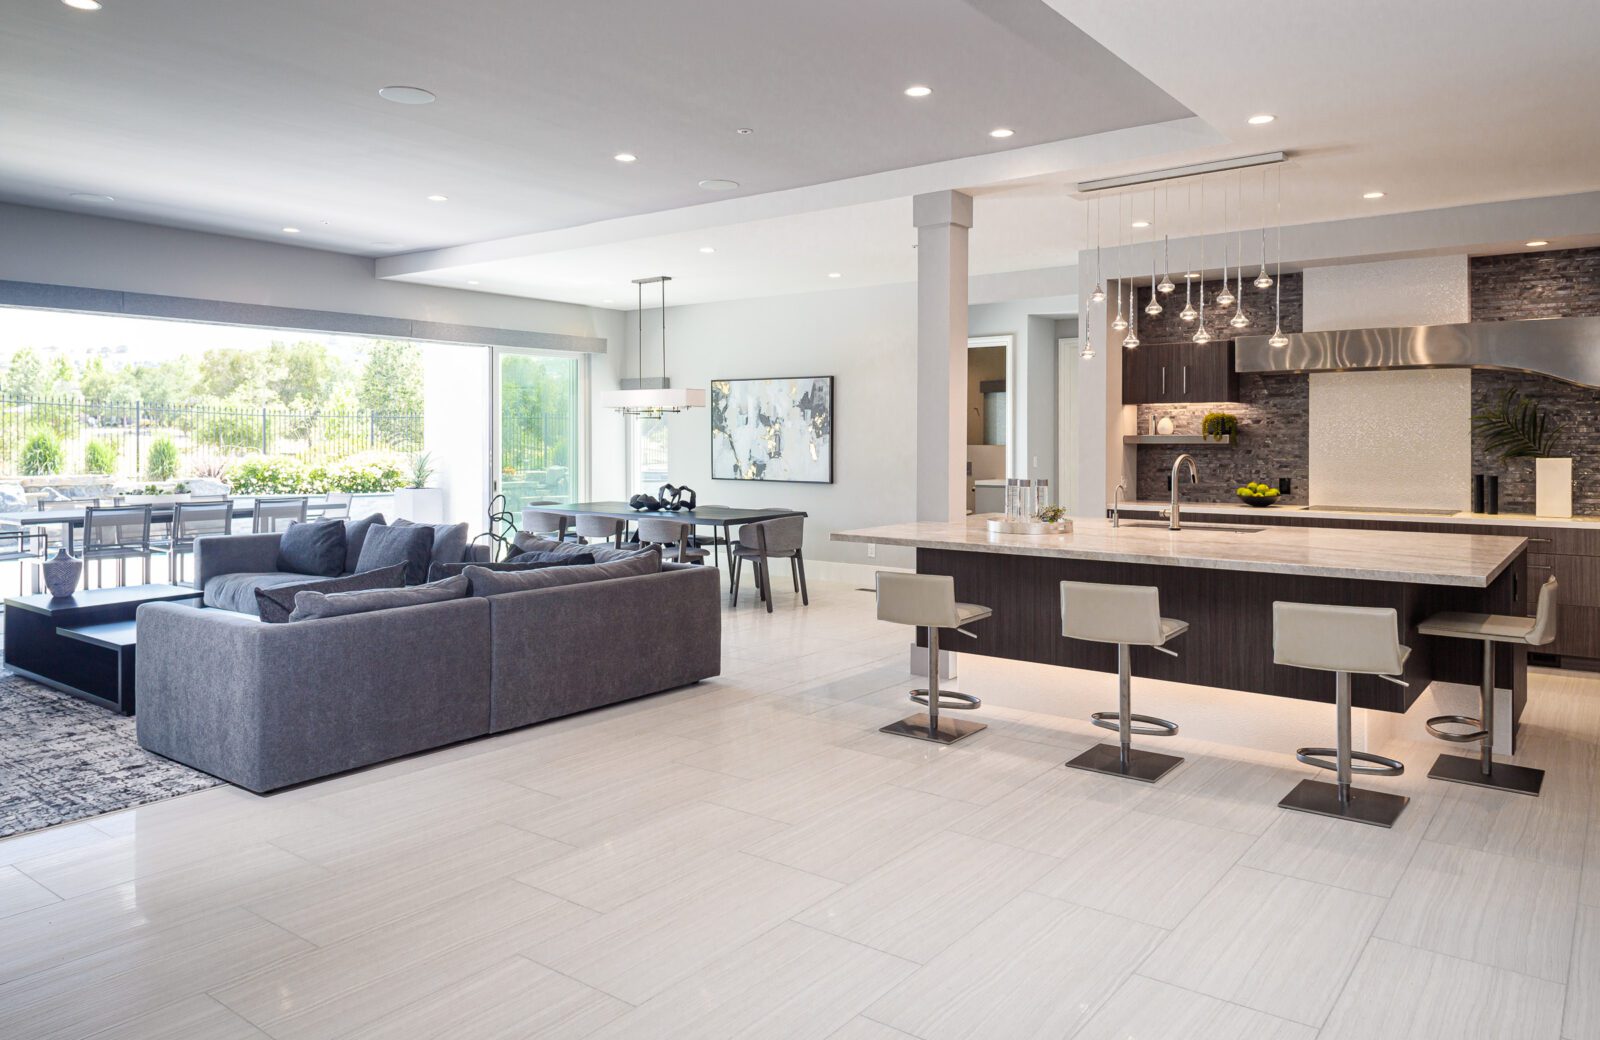
What's the smallest a kitchen island can be?
The minimum useful dimensions are typically 4′ x 2′ (48″ x 24″). Anything less than that, and the storage will be limited. You also don’t want it to be so skinny that it looks like a board of lumber instead of an island.
But you also need to scale the island to the size of the kitchen so that a small island isn’t used in a big kitchen.
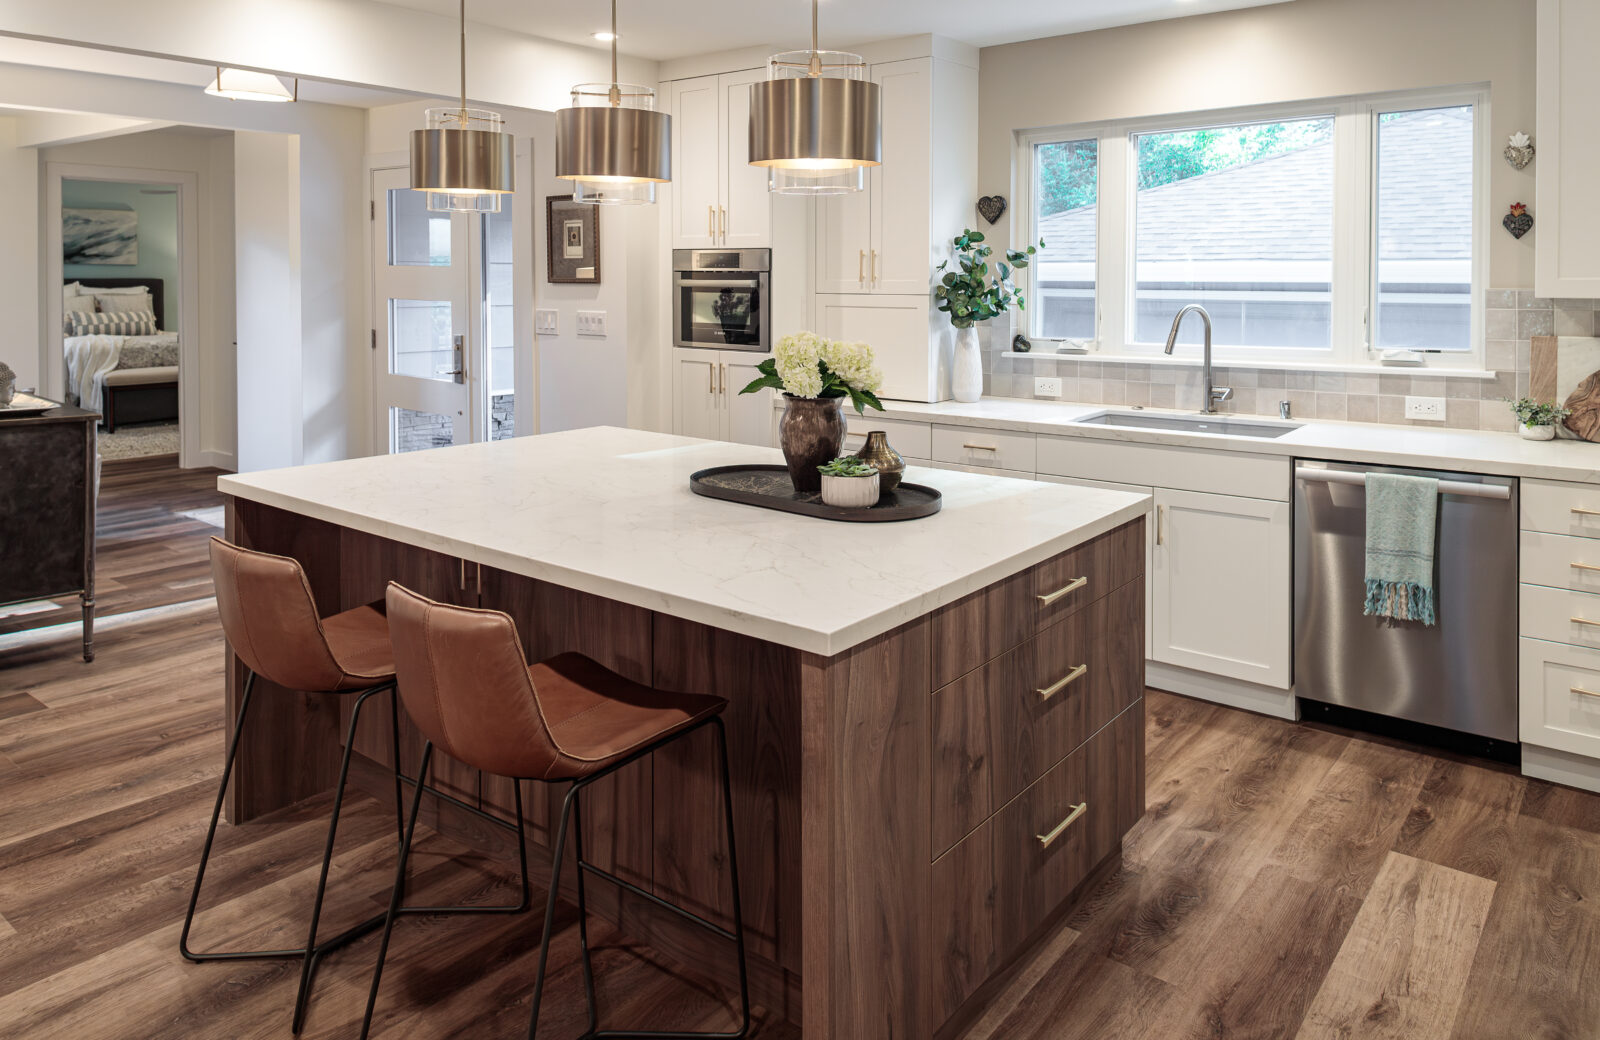
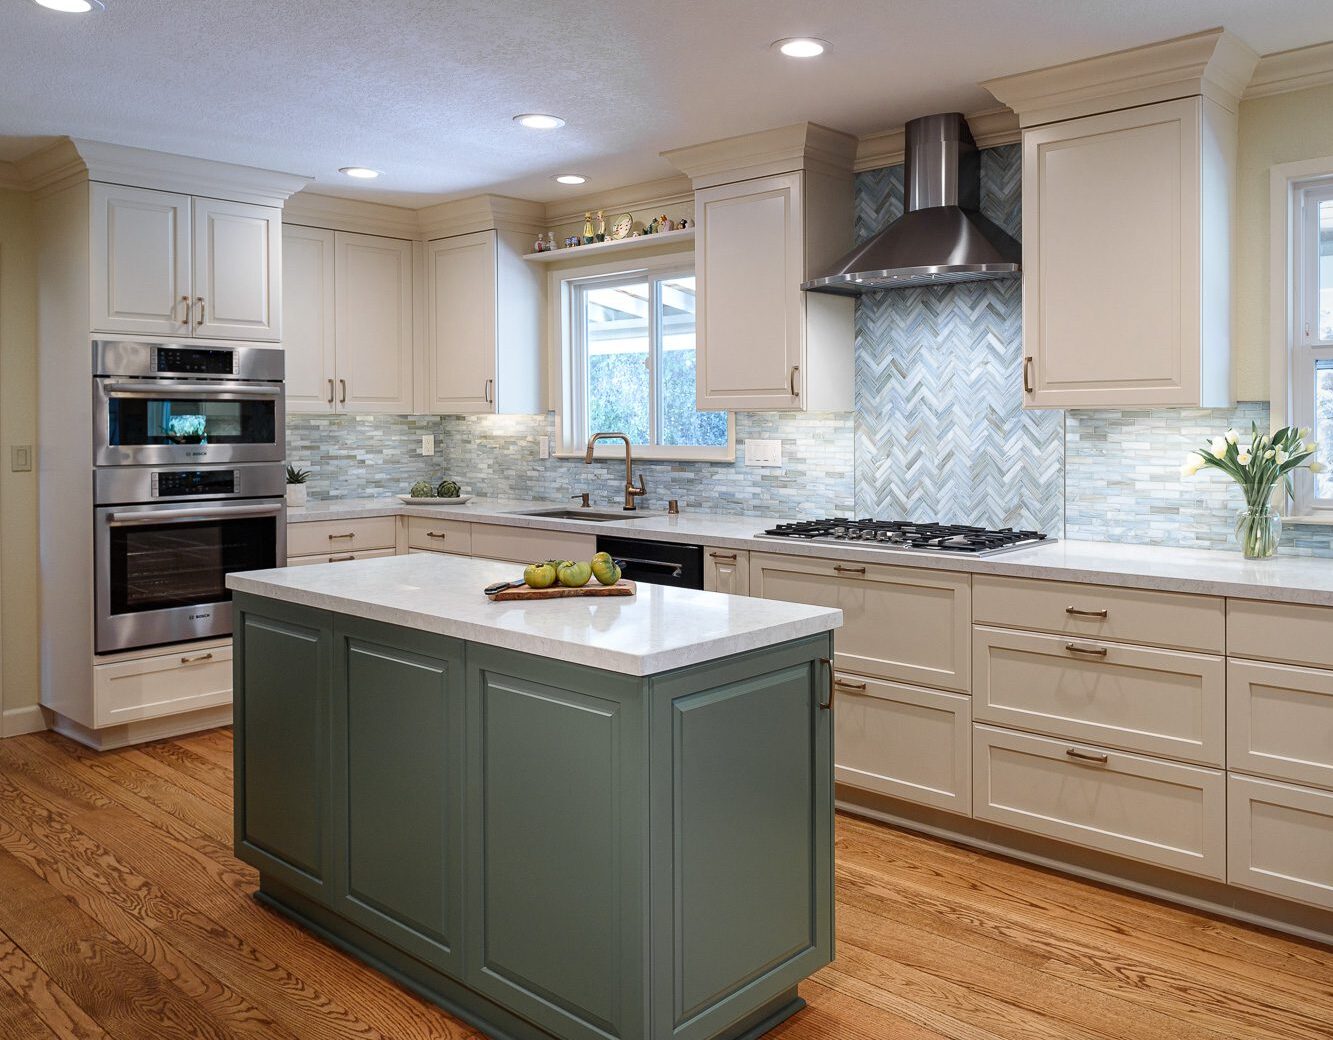
How much space do I need for each seat at a kitchen island?
Every island stool or seat by itself, takes about 16-24″ of counter length, but we have to consider more than just the seat size.
- Some people are freer with their elbows.
- Some families simply prefer more breathing room.
It’s smart to plan 28″ to 30″ per seat at a kitchen island, especially for long meals and homework sessions.
This is based on a person’s shoulder width, not the stool size. Some stools are 16″ to 18″ wide; others are closer to 24″, but the person sits in roughly the same space.
This is only for linear seating. There are additional considerations if your seating goes around the corner.
So keep in mind that your island has to work for your home scenario.
How much space do I need around a kitchen island with seating?
It depends. Are you choosing a stool with a back?
The back will take up more space, and usually stools with backs have a deeper seat. Make sure you have a 48″ (4′) passageway minimum if you want a stool with a back. For a two-person kitchen, increase the passageway by an additional 6″ to 12″.
Stools without backs? Those can slide under the island overhang, but you’ll still want a minimum of 42″ (3’6″) of passageway. For a two-person kitchen, increase the passageway by an additional 6″ to 12″.
What's the smallest a kitchen island can be with seating and a sink?
The smallest a kitchen island with seating and a sink can be is 45″ (3’9″) deep.
For example:
A 24″ deep sink base cabinet with a 4.5″ pony wall behind it for plumbing to run, and 16″ of countertop overhang for seating depth, means your island is about 45″ (3’9″) deep.
How big should the island be with a sink, a dishwasher, trash, and no seating?
With caveats, we’d say approximately 6′ x 3′ (72″ x 36″).
You’d need just over 6′ (72″) of length to accommodate the dishwasher, sink and trash pull-out, and while the minimum depth required is only 28.5″, a long, skinny island like that would not look good. While the true depth will depend on the size of your kitchen, the minimum depth that would look OK for a 6′ (72″) length is 3′ (36″).
Now, let’s look at the details.
The minimum depth is 28.5” to accommodate the sink and plumbing.
For the length, you’d need a little over 6′ (72″) if you have a dishwasher (24″), sink base (33″), and a trash pull-out (15″). Obviously, the sink base will depend on the size of the sink, and the trash pull-out would need to be larger if increased capacity is desired. The dishwasher will need a minimum of a ¾” panel covering the side of the dishwasher. To go smaller with an island with a standard sink, you would likely need to eliminate the trash pull-out or the dishwasher.
A dishwasher is often a non-negotiable, so the trash pullout is often skipped. We like a trash pull-out, though, especially if you’re using the island for heavy prep rather than seating. Having one means you don’t have to walk across the room to scrape plates! If you have a dishwasher on the island too, your kitchen grows very efficient.
A real-world example of when kitchen island seating will not fit
Let’s start with a 14′ (168″) wide U-shaped kitchen that looks big enough for seating at first glance. Now, start factoring in priorities.
- The homeowner wants a sink in the island, which adds 4.5″ of depth for plumbing.
- The homeowner wanted standard base cabinets, so we put in 24″ depth cabinetry.
- The layout needs at least 36″ (3′) of clearance on all sides for traffic and appliances.
- That totals to 24″ depth on the right wall, 24″ depth cabinetry on the left wall, 24″ depth cabinetry at the island, 4.5″ behind the island for a plumbing wall, and an additional 16″ of countertop overhang for the seating. The total of these measurements is 164.5″ (13’8.5″). The kitchen is 14′ (168″) wide, so the fixtures fit. Unfortunately, the seating does not. The person seated at the island is blocking the 36″ (3′) walkway that was allowed. The walkway should be widened to allow someone to sit at the island without blocking it. The walkway should be a minimum of 18″ wider than a non-seating walkway to accommodate both functions. The kitchen in this example needs to be over 15′ (180″) in width.
When those measurements are laid out accurately, there simply is not enough room to add stools without crowding the room. In this case, the island still adds valuable prep and storage; additional cabinetry could be added behind the sink, or the space could be used to improve the walkway, but seating is better handled elsewhere.
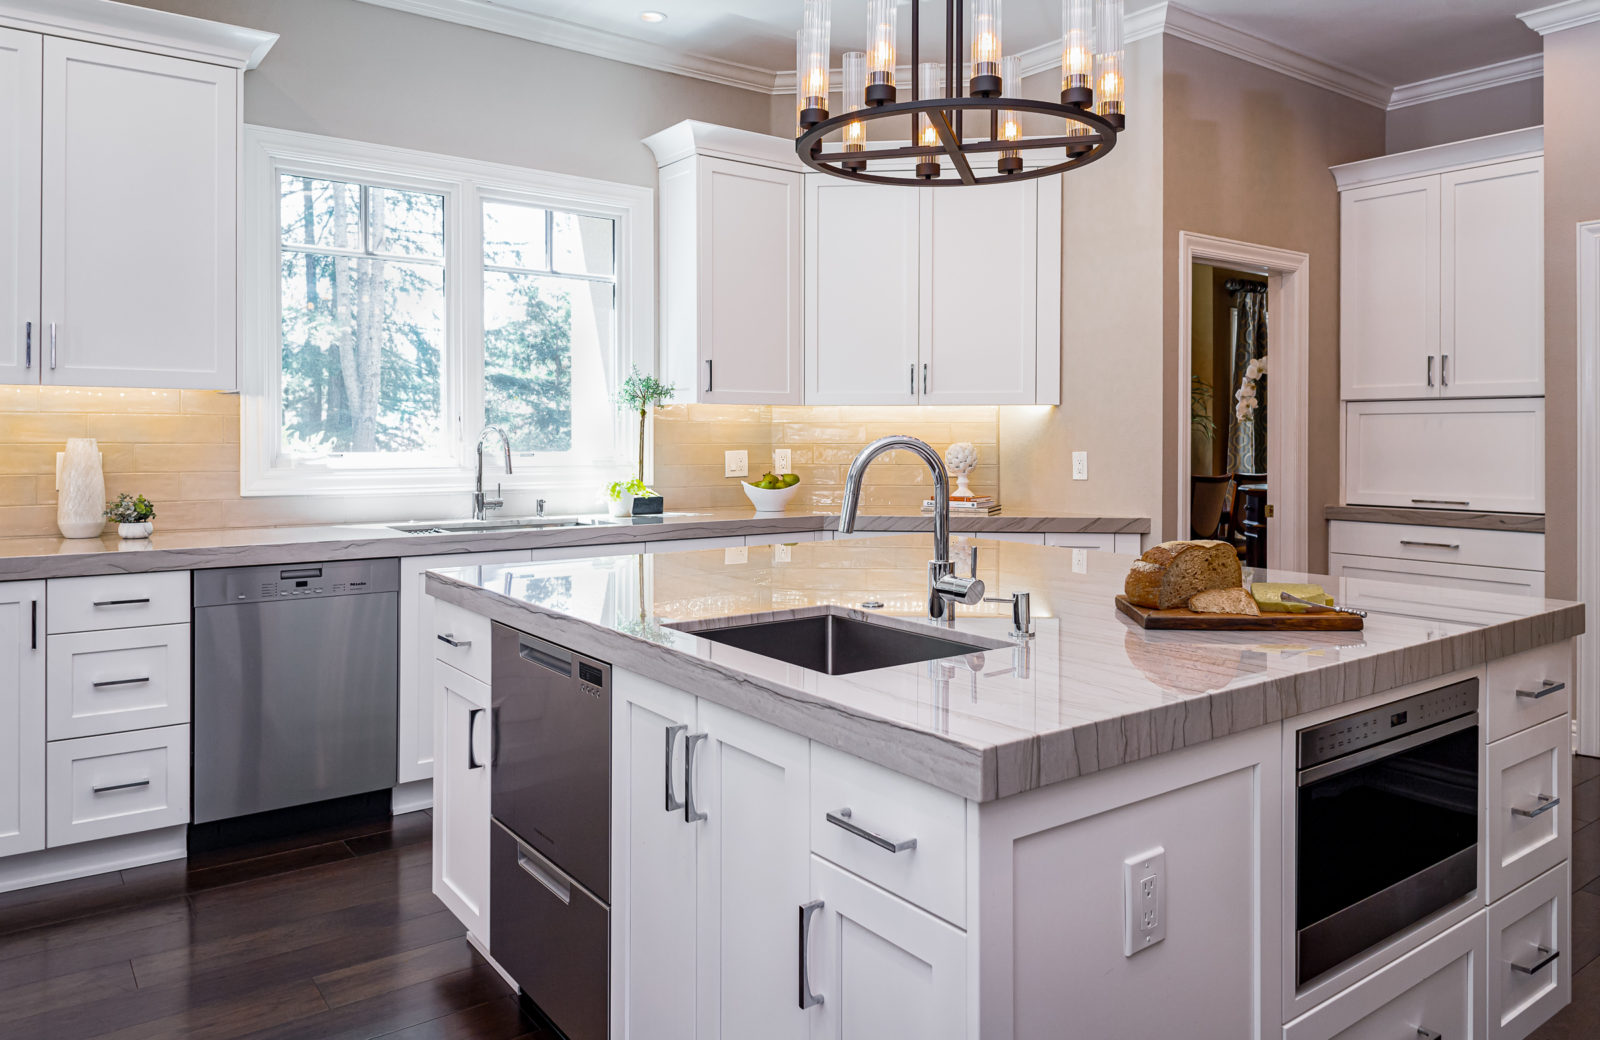
Real-world example of a narrow island without seating
This kitchen was quite narrow, leaving no room for seating, but the island fits, just barely. The clients really wanted to increase their storage. We built the island, but we also added cabinets just outside the kitchen in the sunken living room and tied it in with the kitchen.
Can you do seating at a standard-size island if you use pre-finished countertops?
Yes, let’s use a 3′ x 5′ (36″ x 60″) standard-size island as an example. If your kitchen is big enough, you could put two seats on the 5′ (60″) side and potentially one at the end, but this layout optimizes for seating rather than storage.
How much overhang do I need for kitchen island seating?
It depends on your stool height and therefore your island height. As the stool gets higher, your lap gets smaller, so you can afford to lose a little overhang as you go.
Note that these are all rules of thumb. Some people are comfortable with tighter setups.
But if the island height is 30″, you want an 18″ overhang.
If the island height is at countertop height, 36″ (3′), you can get away with a 16″ overhang.
At 42″ (3’6″), you can do a 12″ overhang.
Is a 10-inch overhang enough for seating at an island?
No.
A 10″ island overhang is not enough space for seating. We get this question all the time, but we assure you it’s not enough!
Sometimes you can get away with a backless stool where someone can perch and put their legs in sideways. This lets you chat with the person cooking if the seating part of the island is smaller, but it’s not very comfortable. You probably wouldn’t want to eat there; at best, you could have a cup of coffee.
To sit comfortably, people usually need 12″ to 18″ of countertop overhang, depending on the height of the island, so their knees and legs have room. Anything less? They’re forced to lean forward or sit sideways.
It is tempting to squeeze in an island by shaving inches off the overhang, but it is not worth sacrificing comfort and function. If there isn’t enough room for the correct overhang and clearances, it’s better to skip the island seating than to force it.
How much space do you need for kitchen island seating with linear seating?
Every island seat takes up about 24″ of counter length. Some people are freer with their elbows, some families have bigger people, and some families simply prefer more breathing room. In those kitchens, it is smart to plan 28″ to 30″ per seat, especially for long meals and homework sessions.
This is based on a person’s shoulder width, not the stool size. Some stools are 16 or 18″ wide; others are closer to 24″, but the person sits in roughly the same space.
If you want:
- 2 seats → plan for 48″ (4′) of counter
- 4 seats → plan for 96″ (8′) of counter
- 6 seats → plan for 144″ (12′) of counter
How much space do you need for kitchen island seating with around-the-corner seating?
- 2 seats → plan for 60″ (5′) total
- 4 seats → plan for 108″ (9′) total
- 6 seats → plan for 156″ (13′) total
Kitchen Island Seating Layouts: Linear, L-Shaped, U-Shaped, and Conversational
The shape of the seating at an island has a big impact on how the island feels and how people interact.
- Linear: everyone in a row.
- Linear with a corner: one or two people at the end, others in a row.
- U-shaped → the island becomes more like a table. You’d often drop the height of it down to 30″ for that section.
- L-shaped → rarely used in California kitchens.
How do you choose?
It depends on your needs.
- Linear set-ups can be awkward for families with kids or any group of people who want to have a conversation, so you might want linear with a corner if you have the space.
- If you are in a small kitchen and really need the storage space, you stick to linear.
- If you’re really looking for that big dining space and you have the room, you can go with a U-shaped setup. The U-shape allows multiple people to eat or chat comfortably while leaving the 4th side free for someone to food prep or serve. Ideal for entertaining or large families who tend to gather in the kitchen.
- L-shaped seating can make conversation and eye contact more natural.
Keep in mind that you don’t need an even number of seats! Larger islands can easily accommodate many stools by dividing them between two or three sides. For example, you can put 3 seats on the long side and 2 on the short side and still get great conversational flow and balanced seating.
Where should kitchen island seating go for the best workflow?
Seating placement must respect the kitchen’s work triangle: the relationship among the sink, the cooktop, and the fridge. To keep the kitchen efficient and safe:
- Avoid placing seating right next to a cooktop or prep sink where hot pans and knives are in use.
- Keep stools on the social side of the island so family and guests can chat without sitting in the way of the person who is preparing food.
- Make sure fridges, dishwashers, ovens, large cabinets, and pantries can open with plenty of space for doors, as well as the person accessing the storage, and for the seated person.
- Avoid putting seats directly in the main traffic path through the kitchen.
Good seating placement means the cook can move easily between the sink, stove, dishwasher, oven, pantries, large cabinets, and the fridge, all without having to ask people to stand up, scoot around you, or get burned.
Should you add a cooktop or a sink to your kitchen island?
It depends on how your kitchen is used.
A cooktop on the island can be convenient, but comes with extra requirements:
- A range hood, ceiling hood, vented exhaust fan, or downdraft fan for proper ventilation
- Downdraft ventilation will likely require the island to be deeper to accommodate the ventilation unit, you should rely on the manufacturer’s installation specifications for the extra size you may need
- Enough landing space (roughly 18″) for hot pans
- Extra consideration for safety, especially if you anticipate kids sitting at the island, leaving another 10″ – 12″ to make sure kids can’t grab pan handles or get burned.
- If you use your island for catching up with work or helping your kids with their homework, cooking splatters could reach your gadgets or papers.
Many people don’t like the ventilation requirement. Dropping a hood down the middle of the island doesn’t produce a clean look. There are hoods that go flush with the ceiling, which are technically legal but a terrible idea if you do high-heat cooking. You don’t get the typical “capture zone.” There are also ventilation systems that rise up from the countertop, but they can mess with your cooking by taking heat away from your pots. If you’re really bothered by cooking smells and air quality, it’s not as effective as an overhead.
How big should an island be if you put a cooktop and seating it?
A kitchen island with a cooktop and seating should be at least 4′ x 6′ (48″ x 72″).
For the length, if you have a 36″ (3′) cooktop, the island should be a minimum of 6′ (72″), because you need 18″ of workspace on either side of the cooktop.
For the depth, if you don’t have a downdraft, you’d typically have a 24″ depth cabinet that would house the cooktop. Behind that, there would be a pony wall that would be 3.5″ to 4.5″ wide. Then a 10-12″ buffer so you can move the seating farther away from the cooktop. Beyond a 10-12″ buffer, we’d need a 15″ overhang for the seating. That means you’d need a little over 4′ (48″) depth to have seating at your island with a cooktop. Again note that if you have downdraft ventilation the manufacturer may require additional depth for the island ventilation which may or may not require additional depth.
Considerations for placing your main sink on your kitchen island
A sink on the island often becomes the heart of the kitchen because it is where most prep happens. It works well with:
- A dishwasher next to it
- A pull-out trash and recycling drawer
- Storage for cutlery, especially if you want a cutting board by the sink
But you still have to consider plumbing.
If the island is already plumbed, that’s great; if not, you have to install a loop vent. This is what keeps air from getting into your sink line and causing gurgling. The United States doesn’t allow the easier schluter vents, so this will add $1500 to your plumbing bill. If you have a slab floor, you might have to cut into that. That can add thousands of dollars depending on your situation. Post-tension slabs make the plumbing issue even worse, as these slabs require scanning the slab and core drilling to avoid the post tension cables. Cutting one of these cables is a very expensive mistake!
How big should an island be if you put your main sink, a dishwasher, and room for seating?
If you put a sink and a dishwasher on your kitchen island with seating, the minimum recommended island size is 50″ (4’2″) deep by 78″ (6’6″) long.
For the length:
Typically, the dishwasher is next to the sink, so you get 24″ of work space on one side of the sink. That way, you can stack dishes waiting to go in the dishwasher, use it as a drying rack, and stack clean dishes removed from the dishwasher, etc.
On the other side, you want 24″ of workspace, but could get away with 18″. Why? You want a workspace to stack dishes, pots, and pans before rinsing them or washing them in the sink.
If your sink base cabinet is 36″ (3′) wide, and the dishwasher is 24″ wide, that makes the total length of the island slightly over 60″ (5′). The workspace on the far side of the sink from the dishwasher is at a minimum 18″, making the total length for the island 78″ (6’6″).
For the depth:
A typical sink base cabinet is 24″ deep. Assuming the seating is opposite the sink, you will want to put some extra distance between the eating/working space and the sink, usually about 10″. You will also want an additional 16″ or so for a laptop, or a placemat and service, or a place for homework, etc. The total depth of the countertop will be about 50″ (4’2″). This makes your total depth 50″ (4’2″).
Now, if you want to get really technical about what components are taking up space under the countertop, here are all the details. Under the countertop, we have a cabinet depth of 24″ and a pony wall for plumbing at 4.5″ wide. In this scenario, there will be extra space under the countertop because the overhang would be much too large at 21.5″ since we are adding counterspace between the sink and the place setting area. To resolve this, the pony wall can be built thicker to make sure we don’t have a void or too large of an overhang. A thicker pony wall will also serve to better support the overhang. Note: If your countertop overhangs more than 12″, it will typically require additional support to avoid breakage.
A main sink on the island is nice, because it lets the cook face the room. It works great in open concept spaces.
If you want a compromise, think about a prep sink. The main sink remains on the perimeter, but a prep sink provides what you need for quick rinses, filling pots, and handwashing near the main prep area. The island doesn’t then have to become a full clean-up zone.
If it’s a big kitchen and it’s a two-cook kitchen, this can work well, as long as you’re not competing for trash access.
Island height: counter, bar, or two-level?
Choosing the right height is essential for comfort and function.
The most common is counter height.
Counter Height:
- Island height → 36″ (3′)
- Counter stool height → 24″ to 26″
This is the same height as standard kitchen countertops, making it ideal for:
Food prep
- Casual dining
- Working from home
- Homework stations
Counter-height islands create a unified work surface. They are easier for children and people with mobility concerns. They also help keep open sightlines in modern open-concept kitchens.
Bar Height:
- Island height → 42″ (3’6″)
- Bar stool height → 28″ to 30″
A bar-height island creates a more elevated feel and is great for:
- Informal entertaining
- Drinks & snacks
- Separating the kitchen from living or dining spaces
A bar-height section also helps hide prep mess from guests’ view if they’re in other rooms in an open-plan layout.
2-Level kitchen islands combining counter and bar heights
When designing a two-level kitchen island, heights of 42″ (3’6″) and 36″ (3′) used to be pretty standard. The taller island height was used as eating space, while the shorter 36″ (3′) countertop height was used for food prep. This worked nicely because if you were eating at the island, the prep dishes weren’t right in front of your face. If you were in another room in an open-plan layout, all those dirty dishes would be completely hidden by the taller island height.
Two-level kitchen islands are not as popular as they used to be. People want big open islands. Sometimes they get so big you can barely wash the middle! You don’t want to make it too big!
A two-level island combines both heights:
- The lower level functions as the work surface, usually 36″ (3′)
- The raised bar becomes the casual seating area, usually 42″ (3’6″)
This layout clearly separates the work zone from the social zone and is especially helpful when entertaining. The host can prep food on the lower level while guests sit and talk at the higher bar.
Kitchen island power, outlets, and charging
If the island serves as a hub for dining, homework, and devices, electrical planning matters as much as the seating.
Electrical features to consider include:
- Outlets near seating so laptops, tablets, and small appliances can be used or charged.
- A charging drawer where phones and tablets can be plugged in and hidden away.
These details turn the island into a true everyday workstation, and not just a pretty surface.
What are the new rules for outlets on the islands in California starting in January 2026?
The rules for island outlets in California are changing, and it will make your island more expensive.
You used to be able to put plugs in at the ends of islands. You could place a plug under the overhang too, but it had to be within 6″ of the end.
Now, the plugs must be on top of the island in the countertop itself.
Why? Because kids were snagging themselves on the cords. They were also at the ideal height for kids to stick objects into the outlets, which was dangerous.
California now requires pop-up outlets. This requires us to cut into the countertop slab.
Can every kitchen have an island with seating?
No. Sadly, not every kitchen can safely or comfortably accommodate an island with seating.
Some spaces need walls moved or layouts rethought to make an island work. But don’t count your kitchen out yet! Many of our clients have been pleasantly surprised to find that an island could fit into their space after a few small layout shifts. We’ve been able to accommodate nearly every client who wanted an island by creatively designing.
Other kitchens are simply better served by a peninsula, banquette, or dining table.
What matters is that the design supports how the kitchen is used every day. When the island’s size, seating, storage, and clearances are planned carefully, it becomes a central, hardworking hub for cooking, gathering, and living.
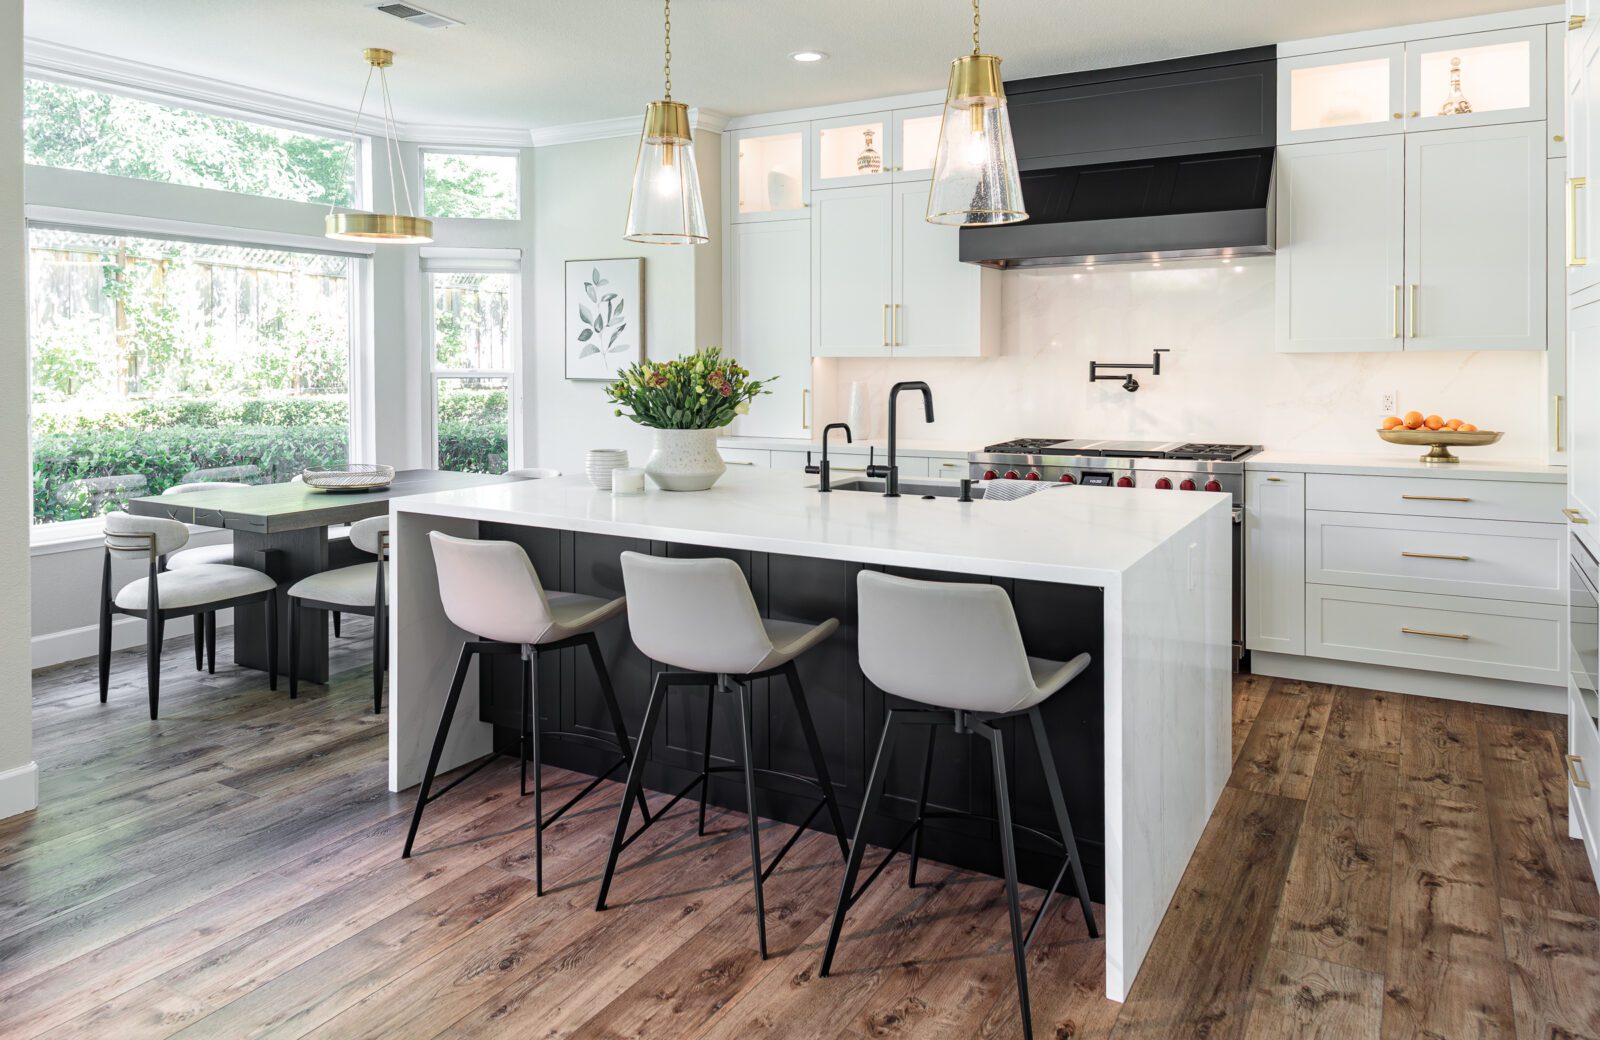
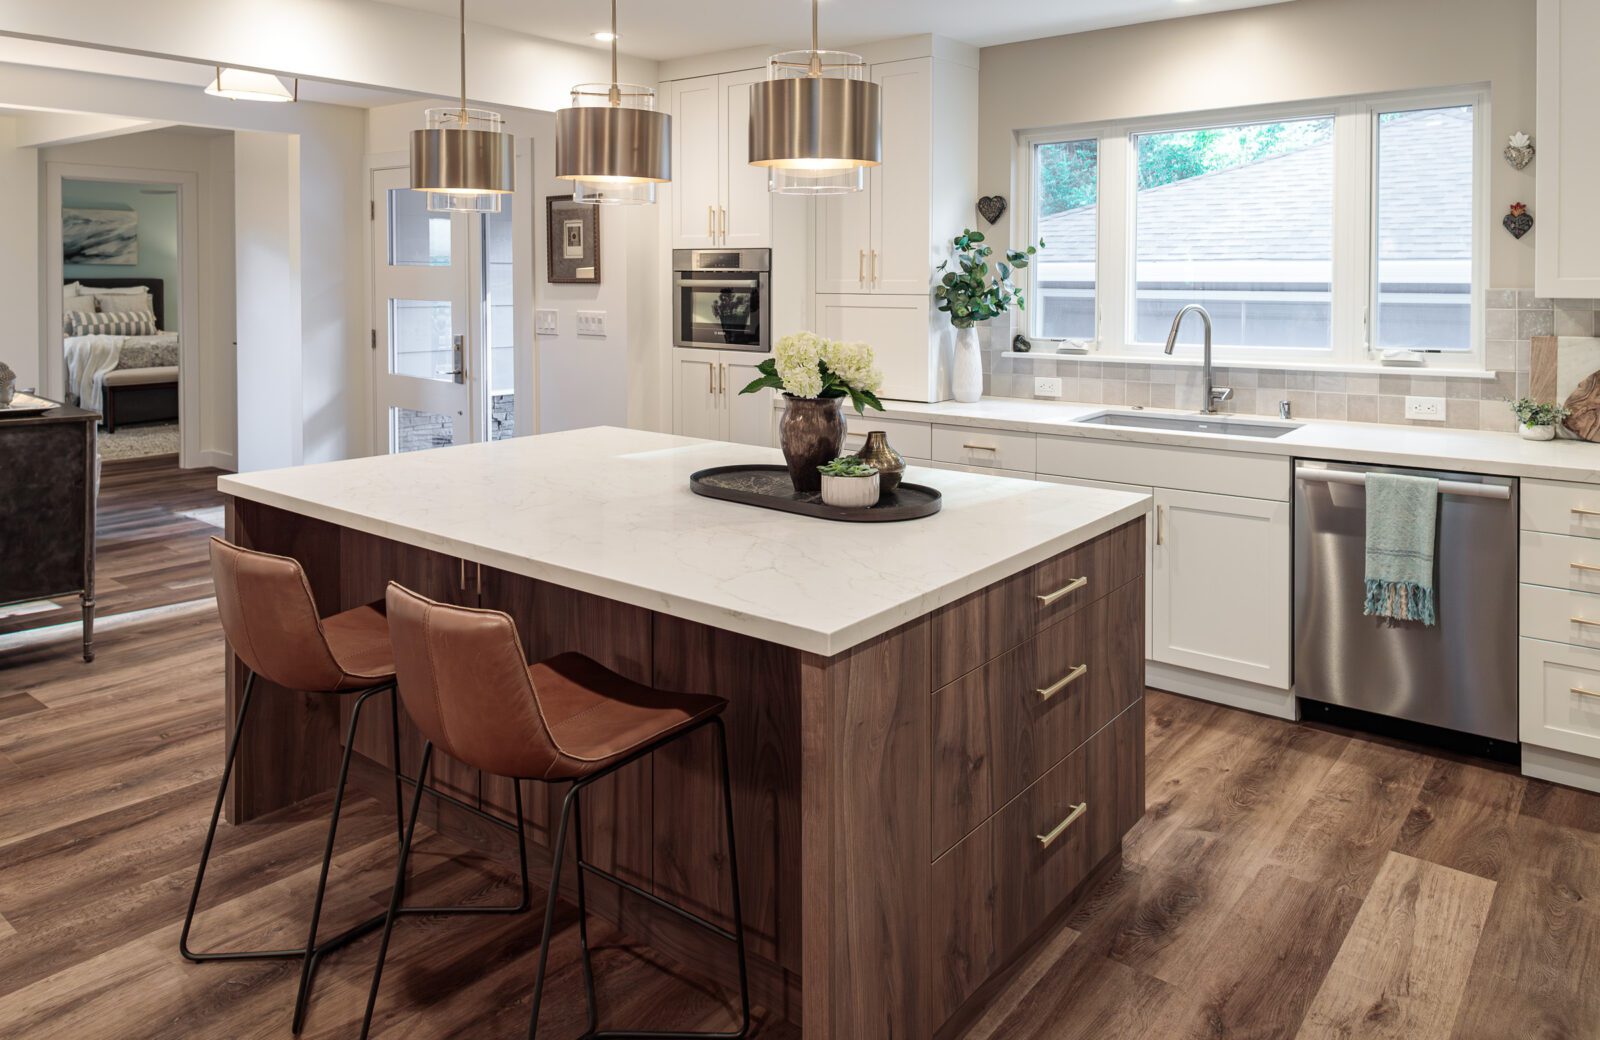
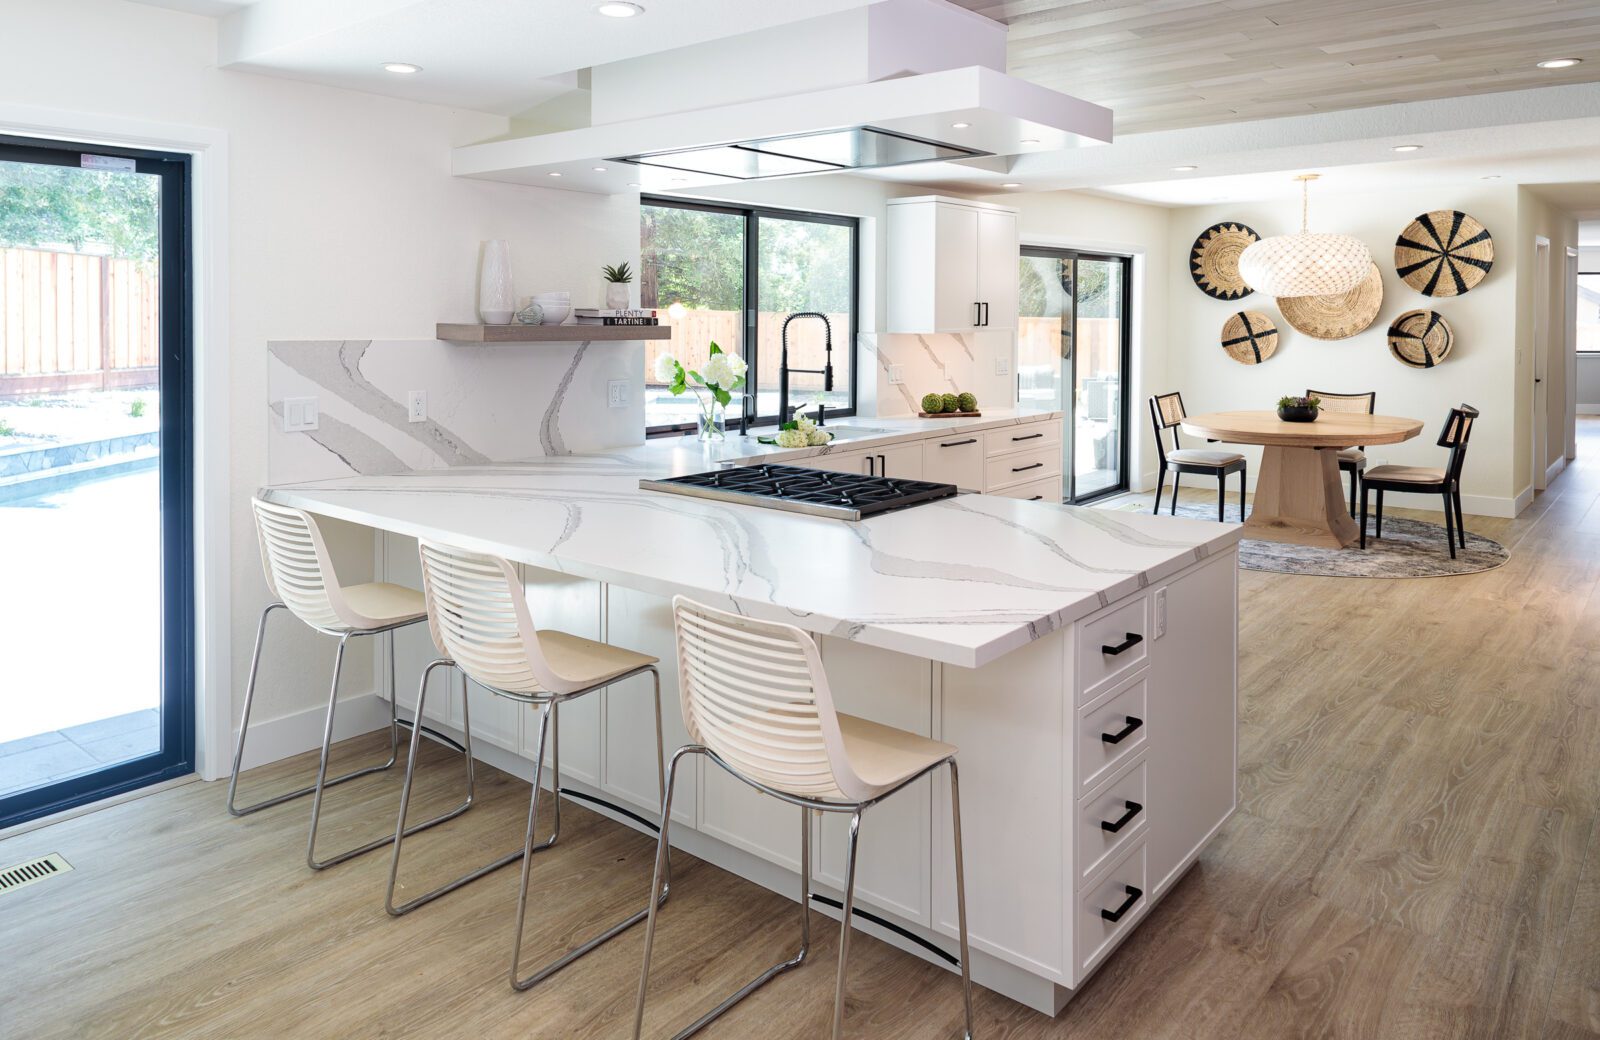
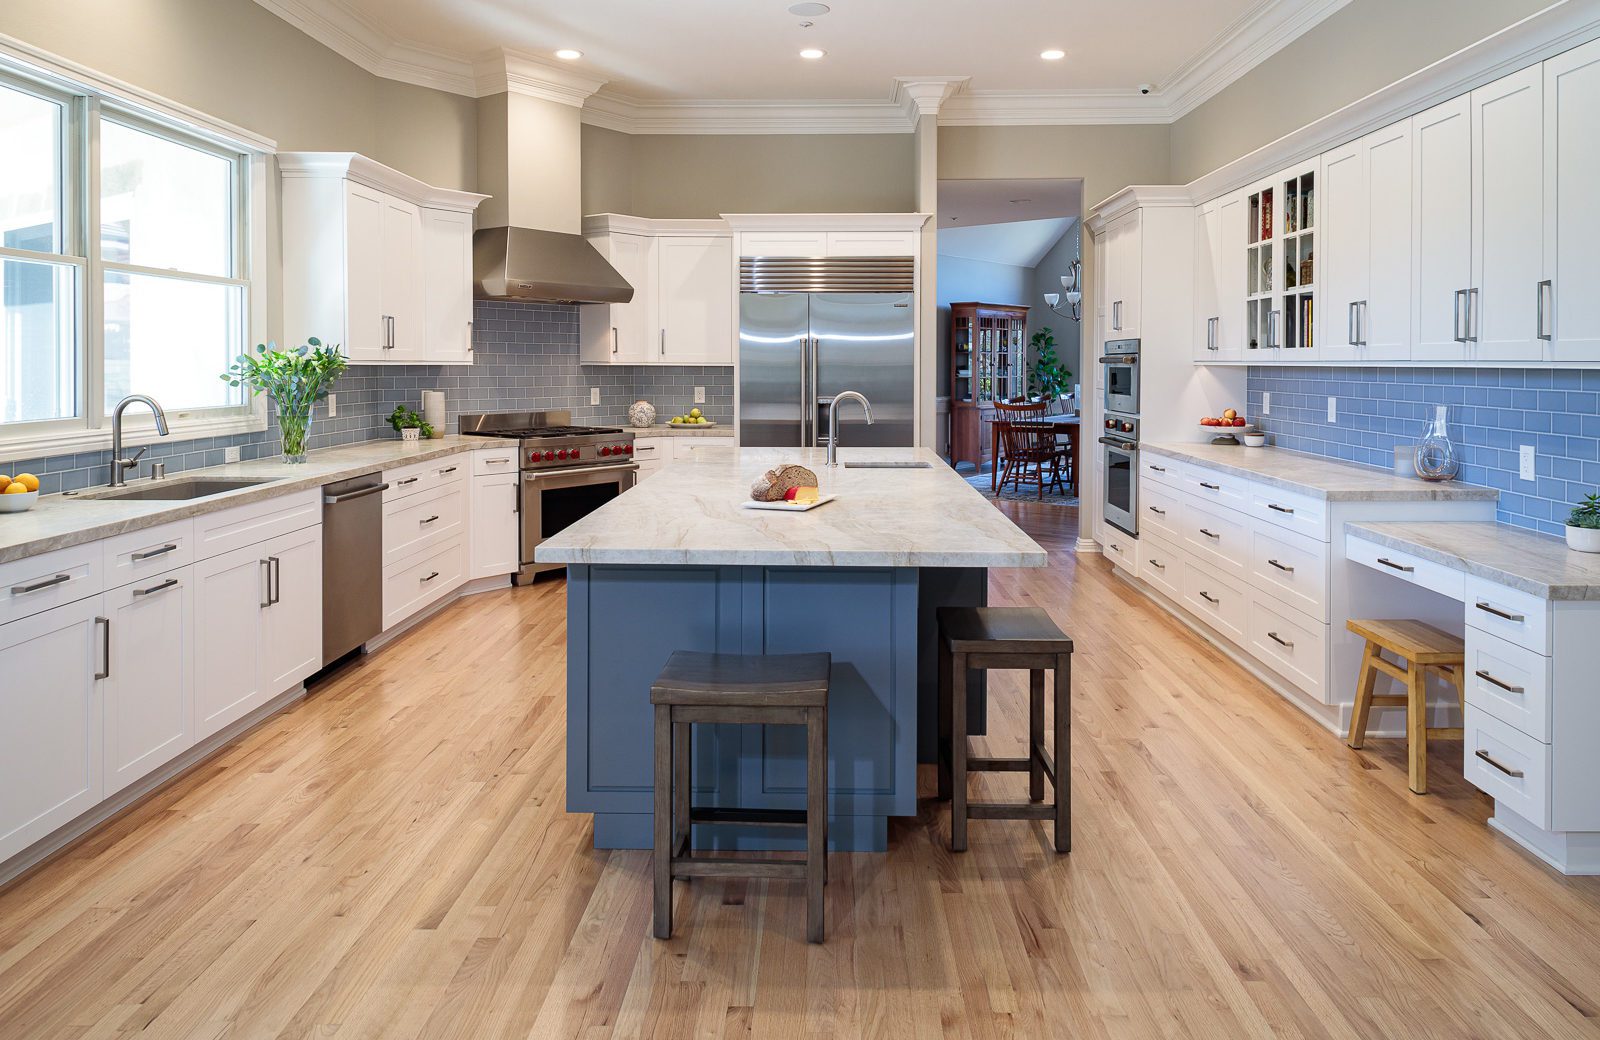
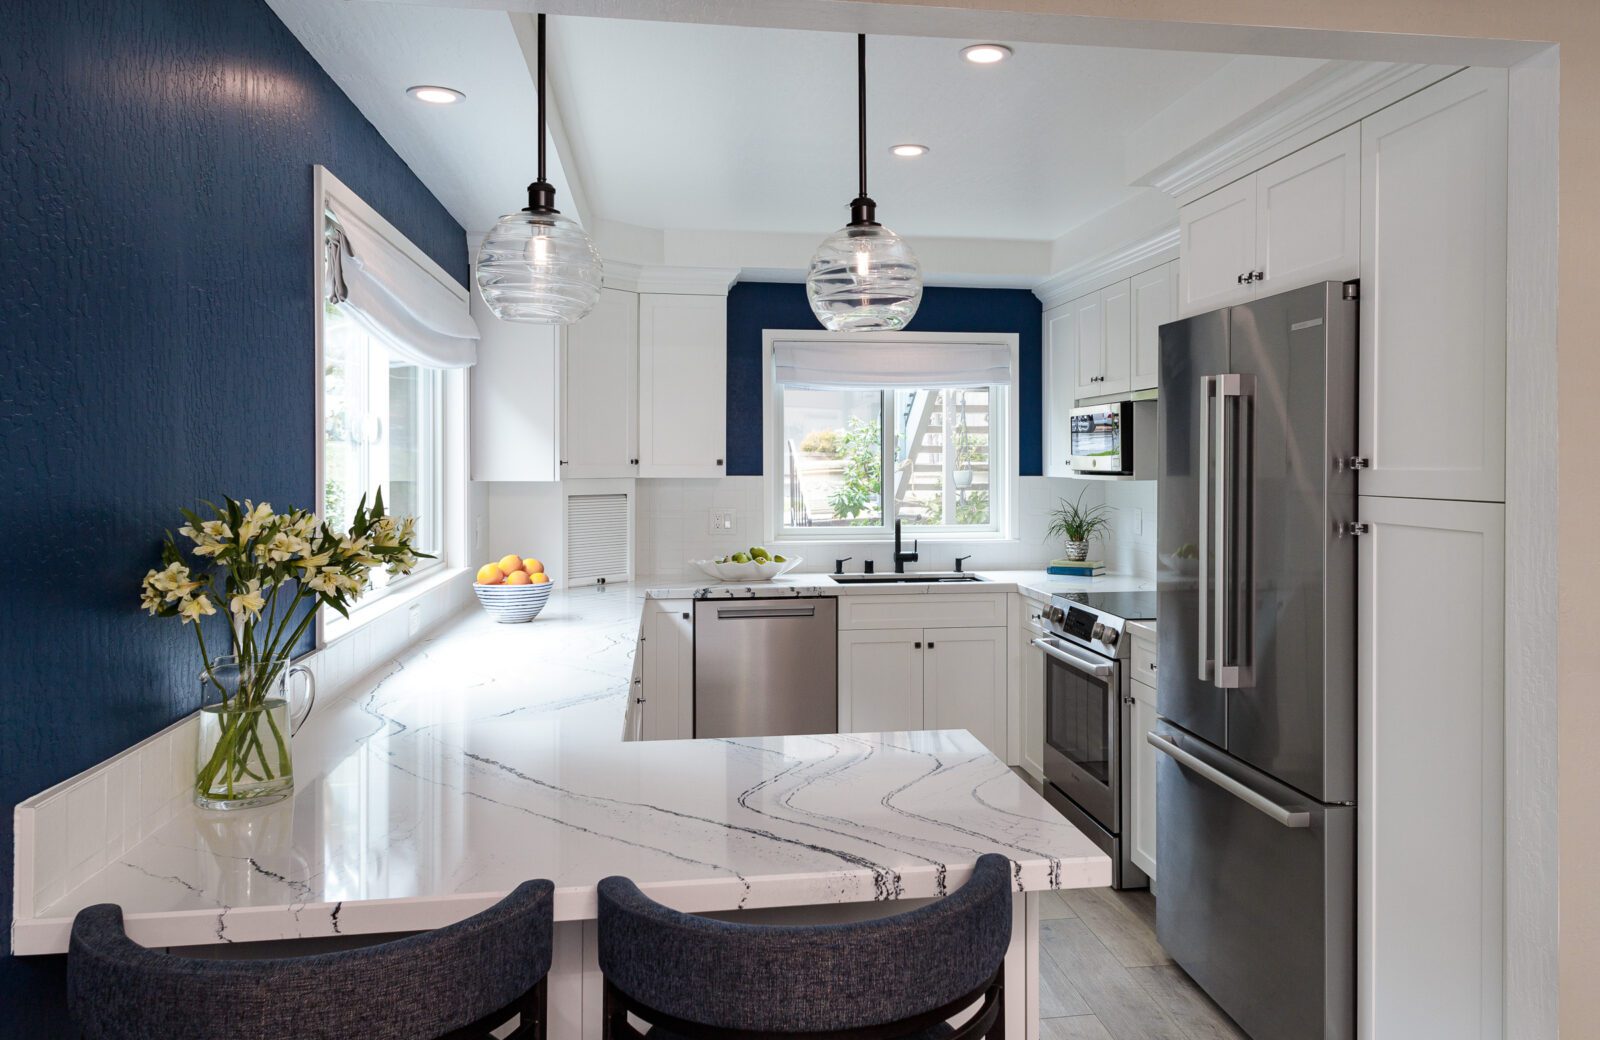
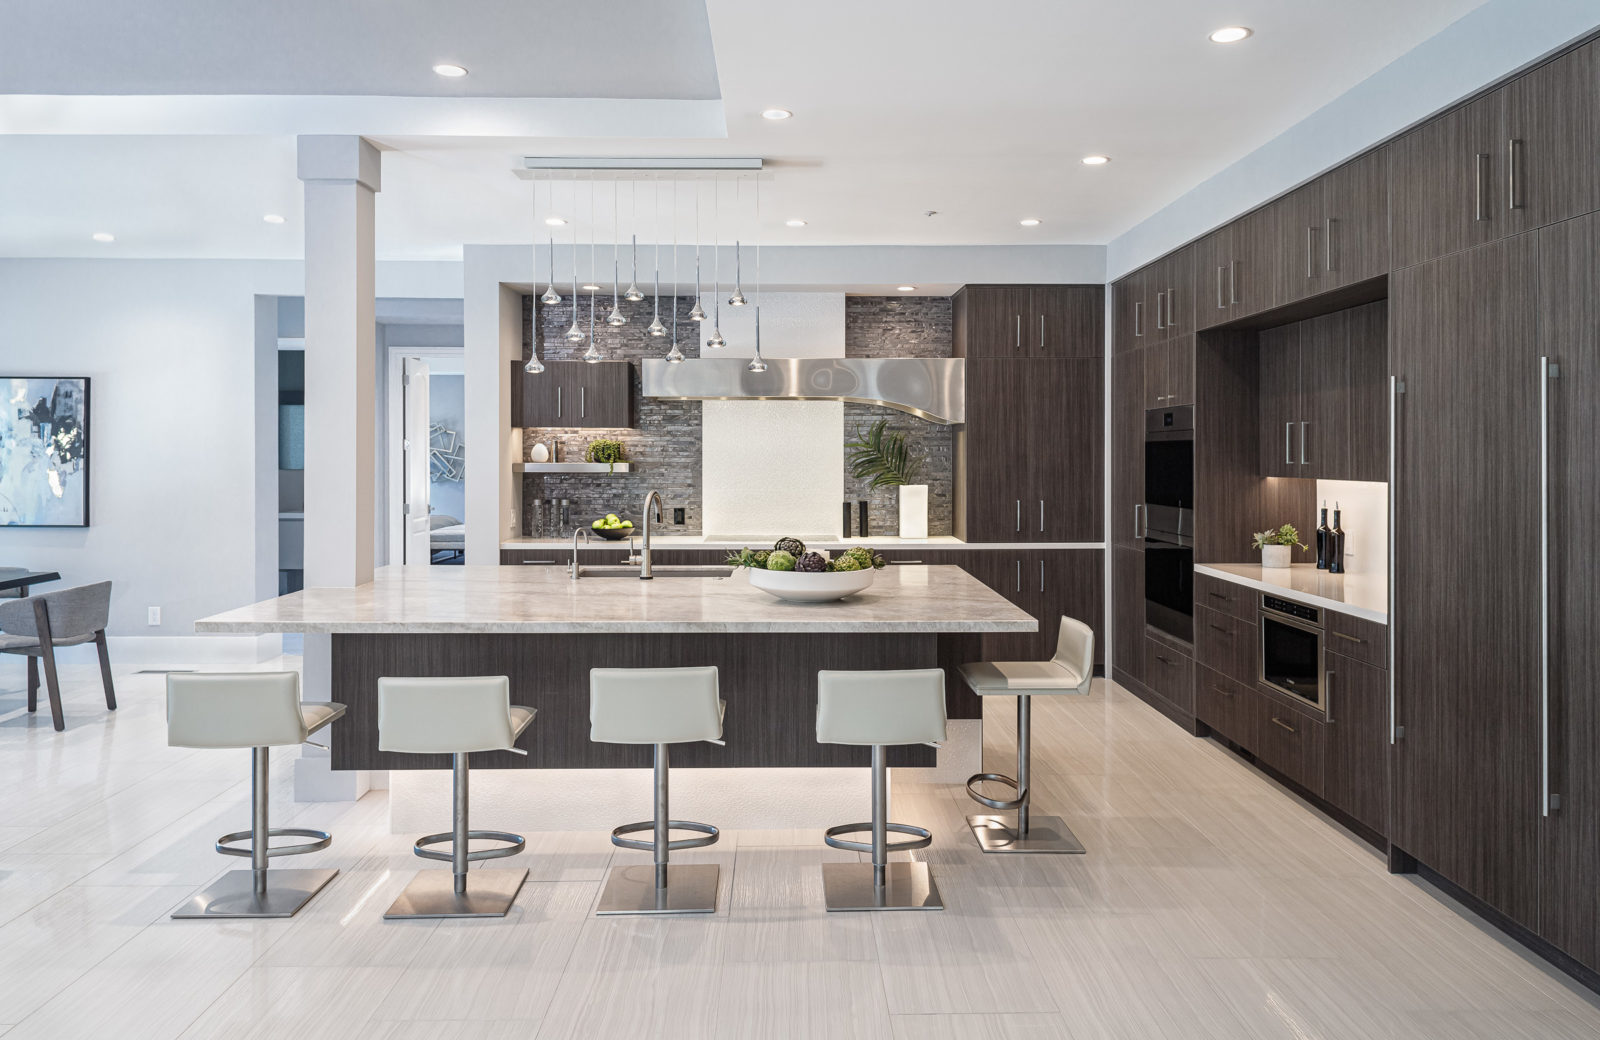
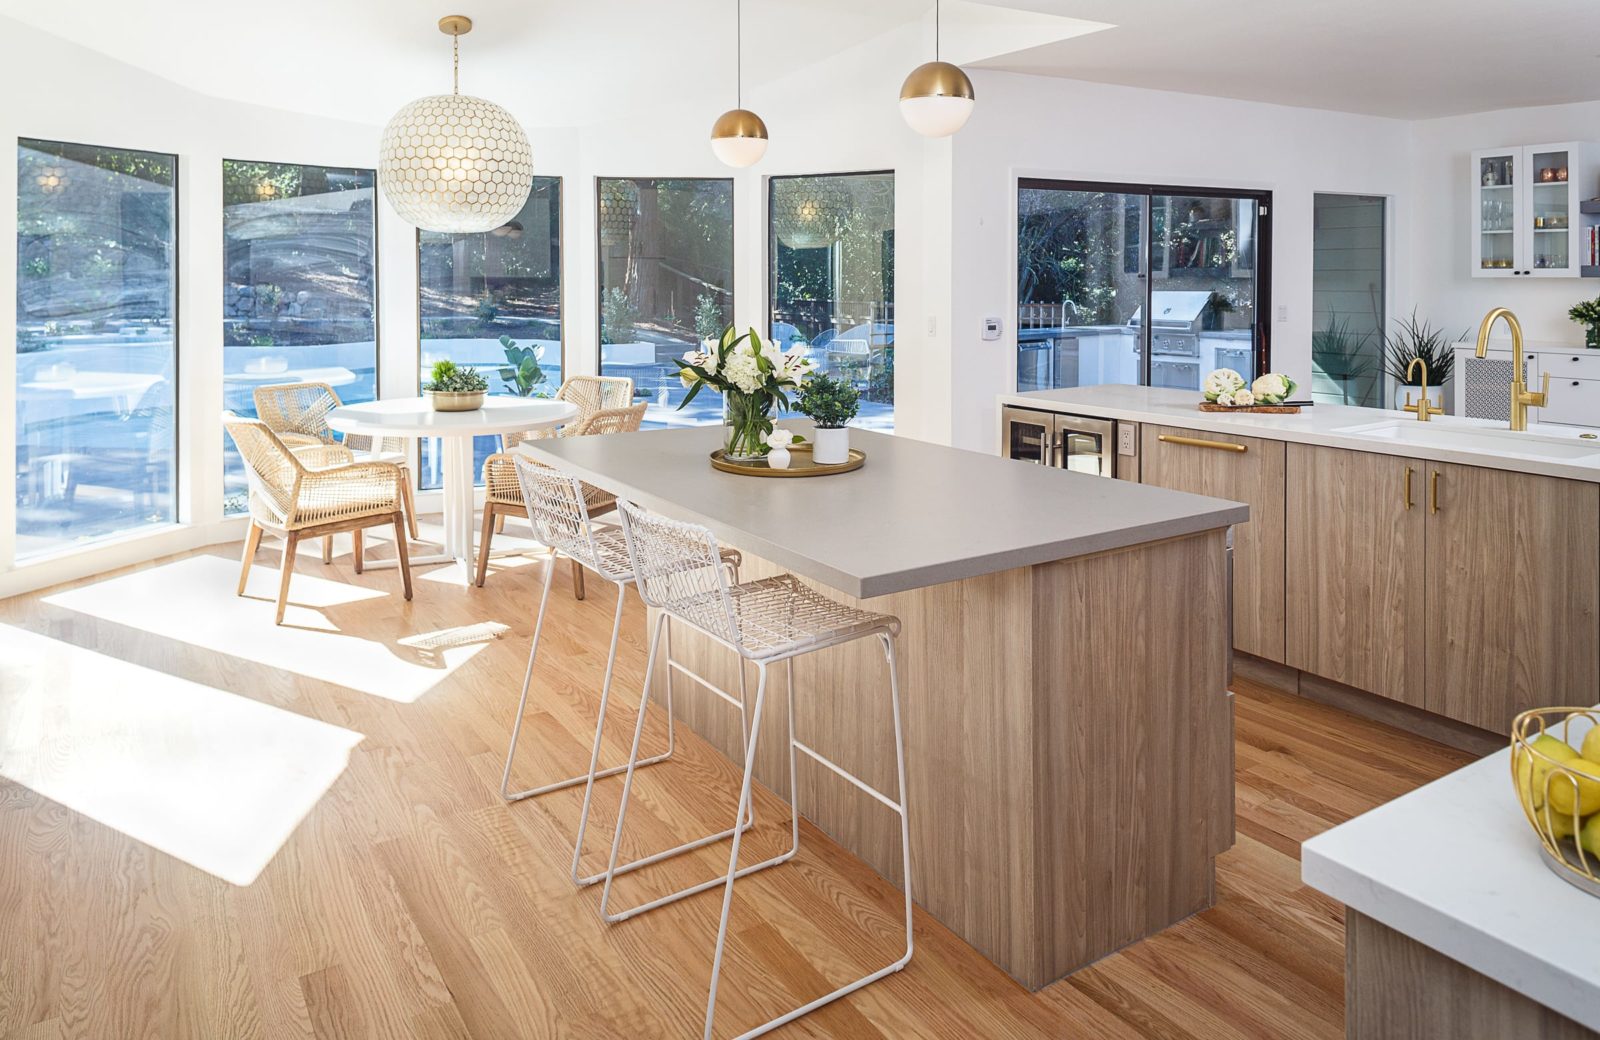
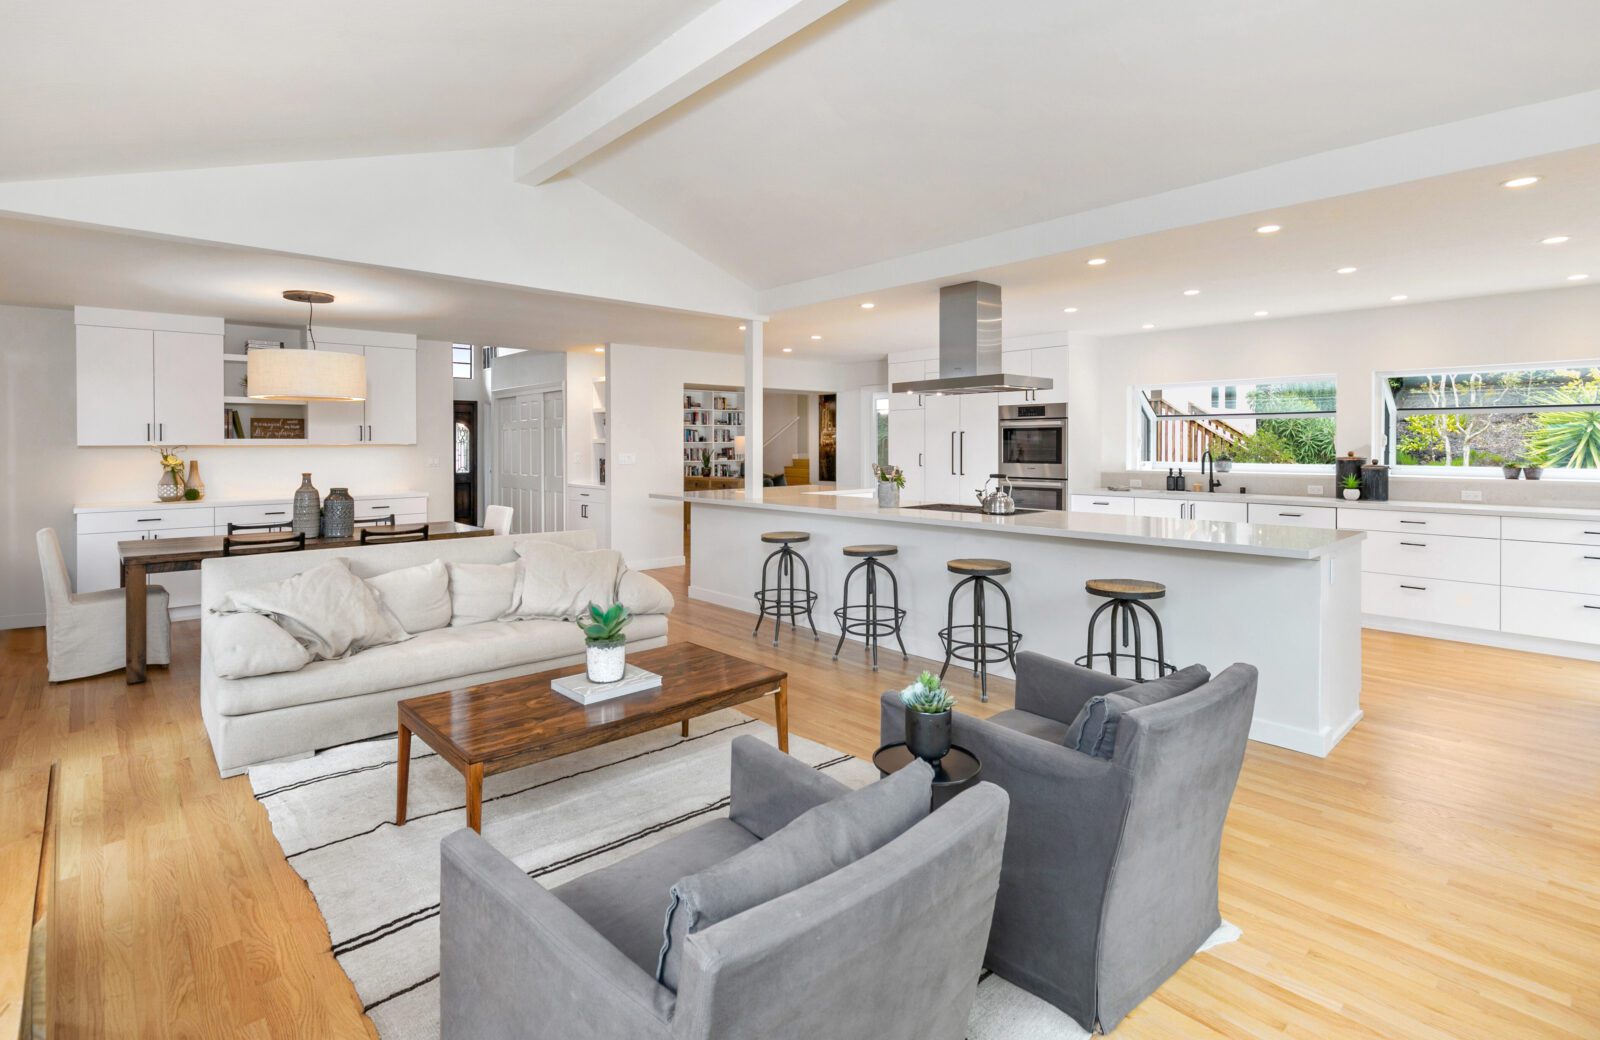
Gallery: kitchen island seating ideas
There are many ways to make these guidelines work in real kitchens, whether the island is big or small, one level or two, with or without a sink.

Want to learn more?
Get Help Planning Your Kitchen Island
You don’t have to do a bunch of math alone or figure out whether you can change the layout to get an island. We can do that work for you and show you the possibilities with a customized design.
Ready to get started? Contact us to get help today! (925) 944-0153